
Hosting LLM tools with Modal
An easy way to develop, host, and integrate LLM tools

One of the coolest abilities of modern LLMs is calling different functions. They allow access to additional information sources, interaction with internet services, or even interfacing with the physical world. When pioneering these applications in chemistry, we manually parsed model output to get arguments for corresponding functions, calling them and getting results back. Nowadays, you can use tools like the function-calling API from OpenAI. But how do you develop a new tool and host it?
Let’s take a simple example. Imagine that you want to help your favorite LLM answer your chemistry questions by searching for molecules in PubChem. A web search could solve the problem, but it might not be as convenient or efficient. Ideally, we want to integrate PubChem search directly with LLMs.
We will start by figuring out how to search for information in the database. After some trial and error, you might come up with code similar to the one below (you can download the code here):
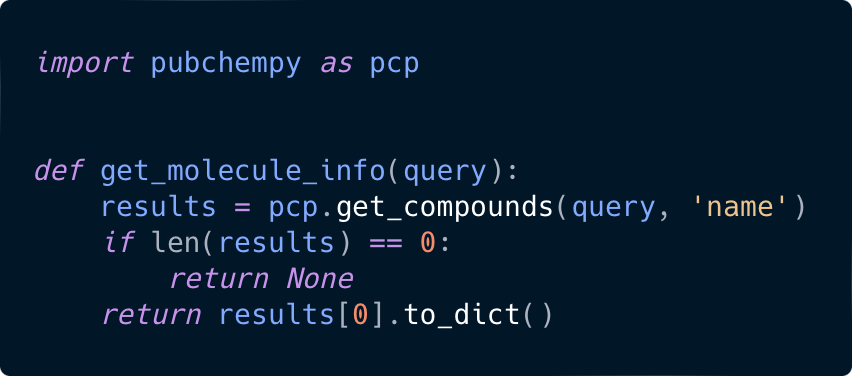
If you don’t have it already, PubChemPy can be installed by running:
pip install pubchempyAwesome! Now we want to run this somewhere. Modal provides a very convenient interface for deploying web endpoints, so let’s register at modal.com and install it first by running:
pip install modal
modal setup # log in your account
Next, we can wrap our code with some additional deployment code, as shown below.
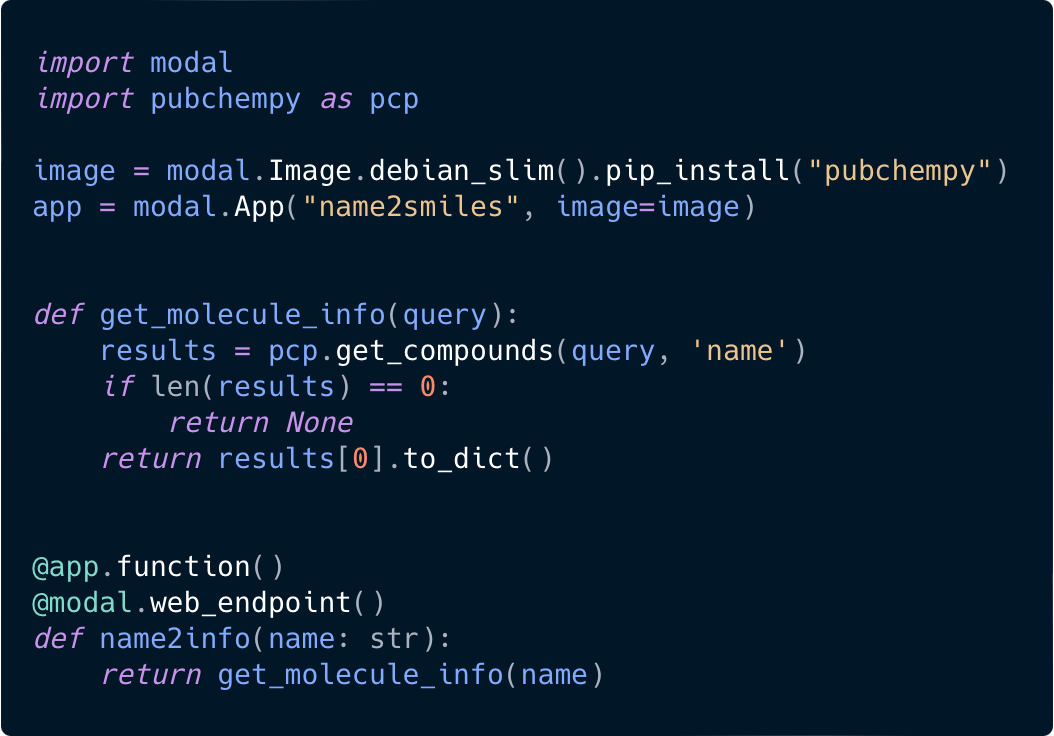
Now we have a web endpoint that can receive requests and return results from PubChem. Let’s deploy and test it:
modal deploy tool.py # returns URL for the web function curl "https://YOUR-URL.modal.run/?name=aspirin" # returns JSON with PubChem information about aspirinAt this moment, only one step remains—trying to integrate this into your LLM workflow. There are many options, but for the purpose of this blog post, we will create a new custom GPT using the ChatGPT UI.
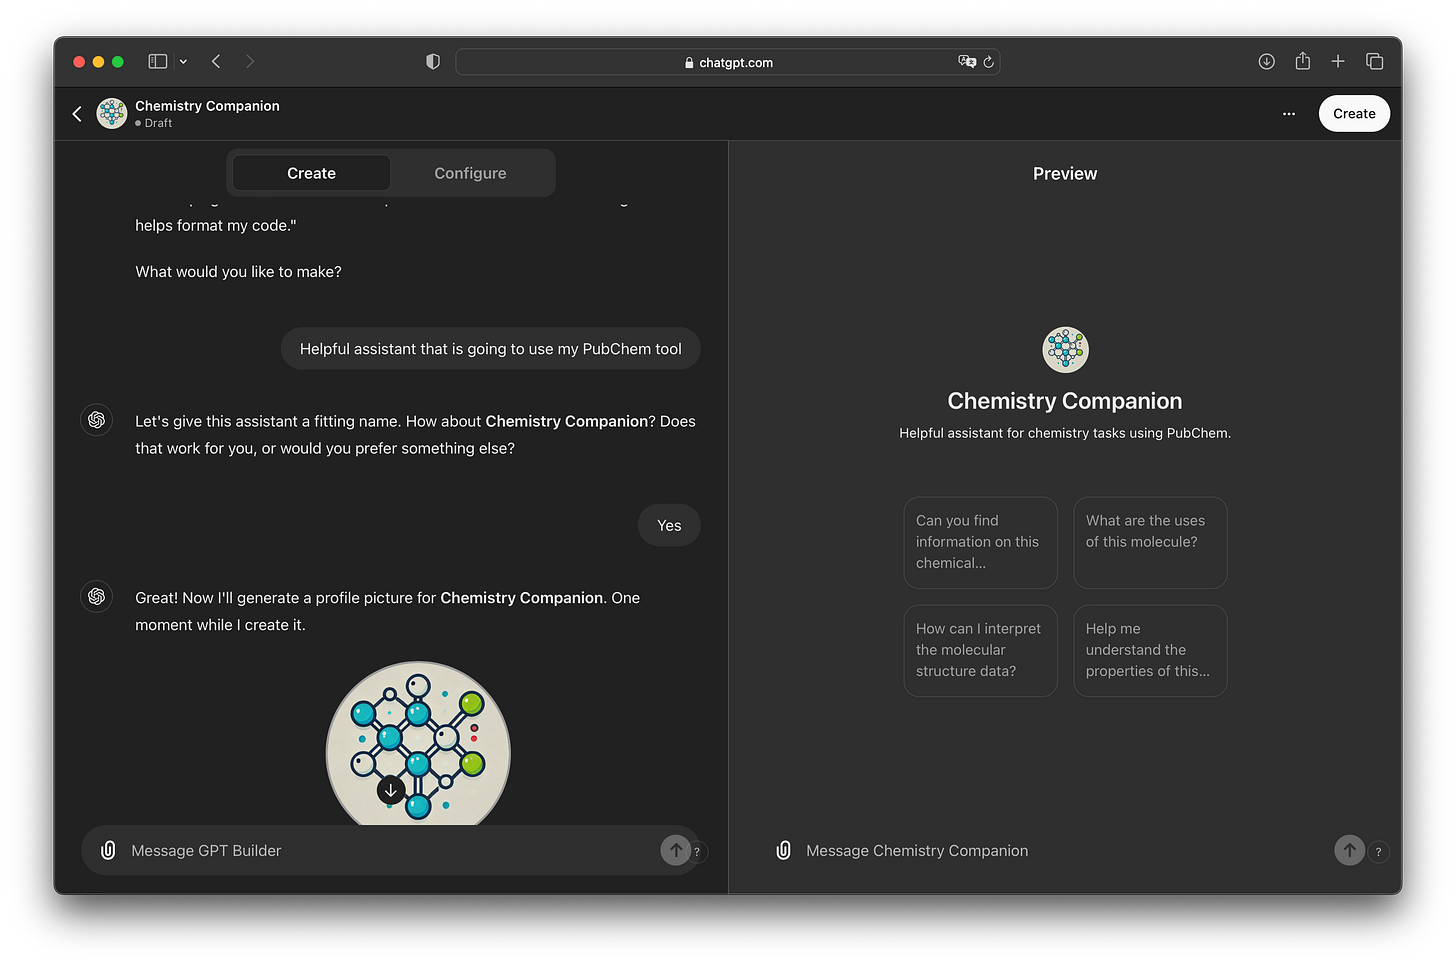
At chatgpt.com navigate to “Explore GPTs” on the left
Click “Create” on the top right
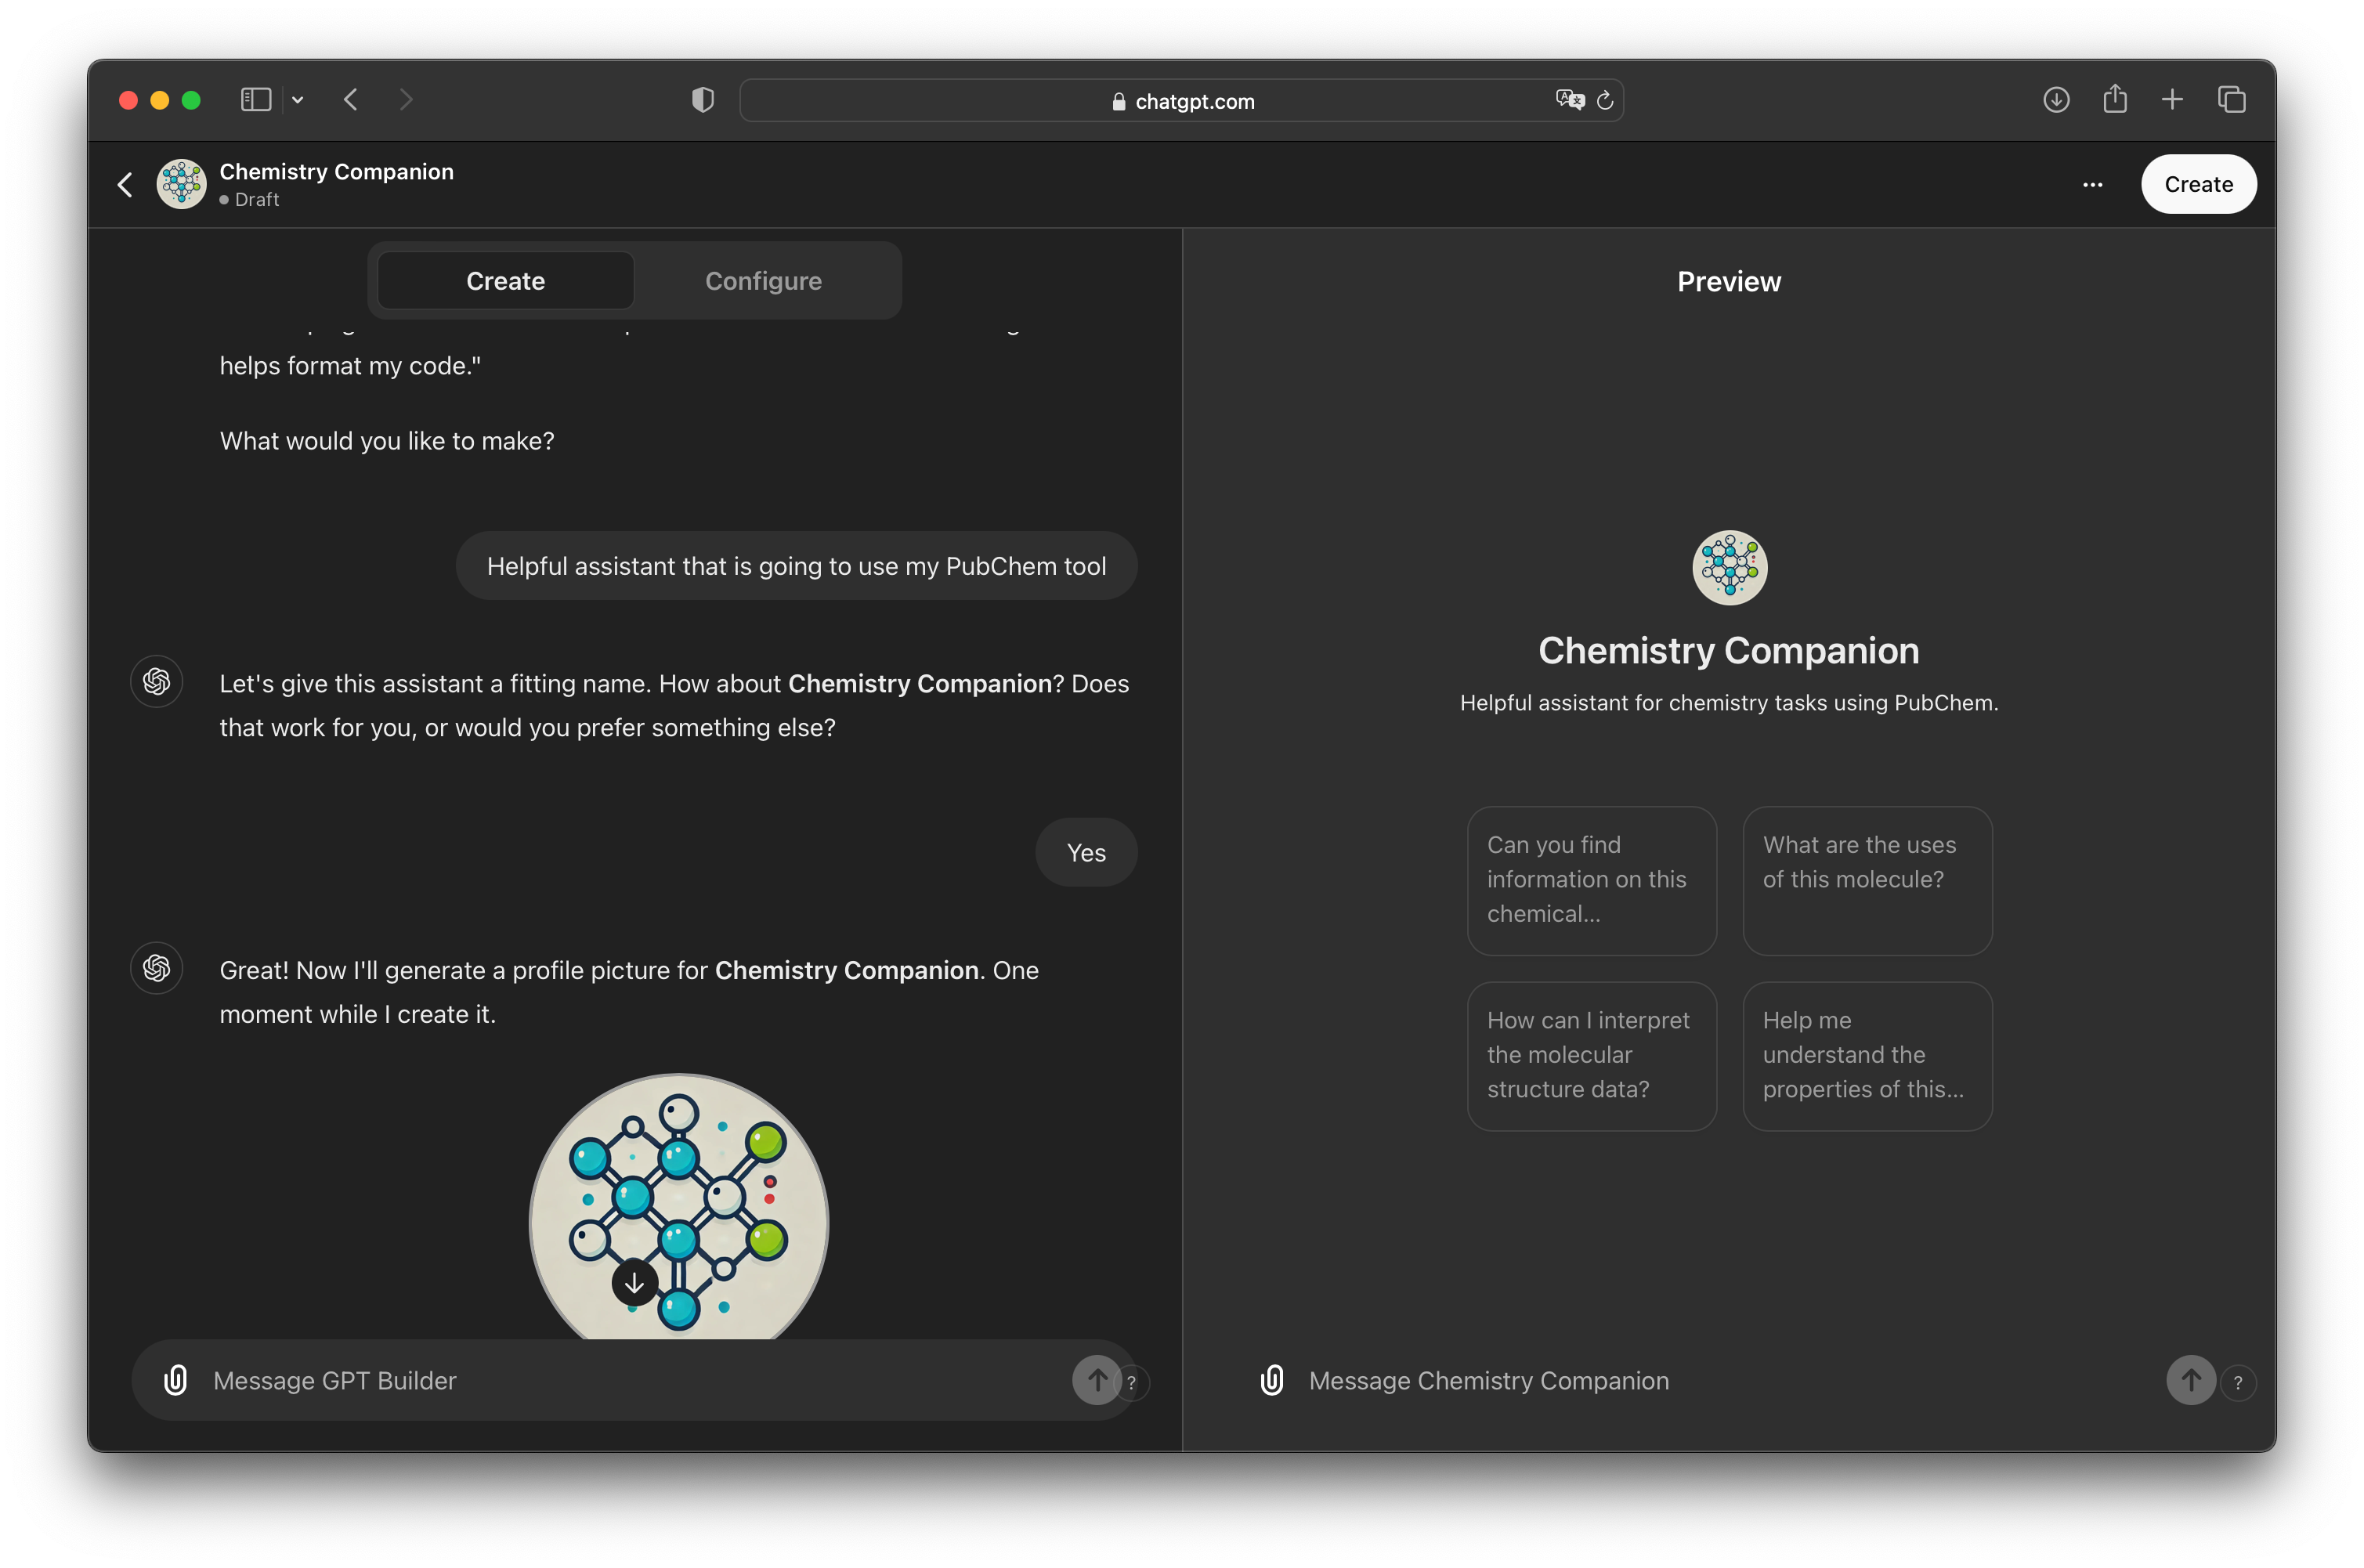
Answer questions of the assistant in the left pane
Click “Configure”
Scroll down and and click “Create new action”
Provide the schema and don’t forget to replace the URL with yours.
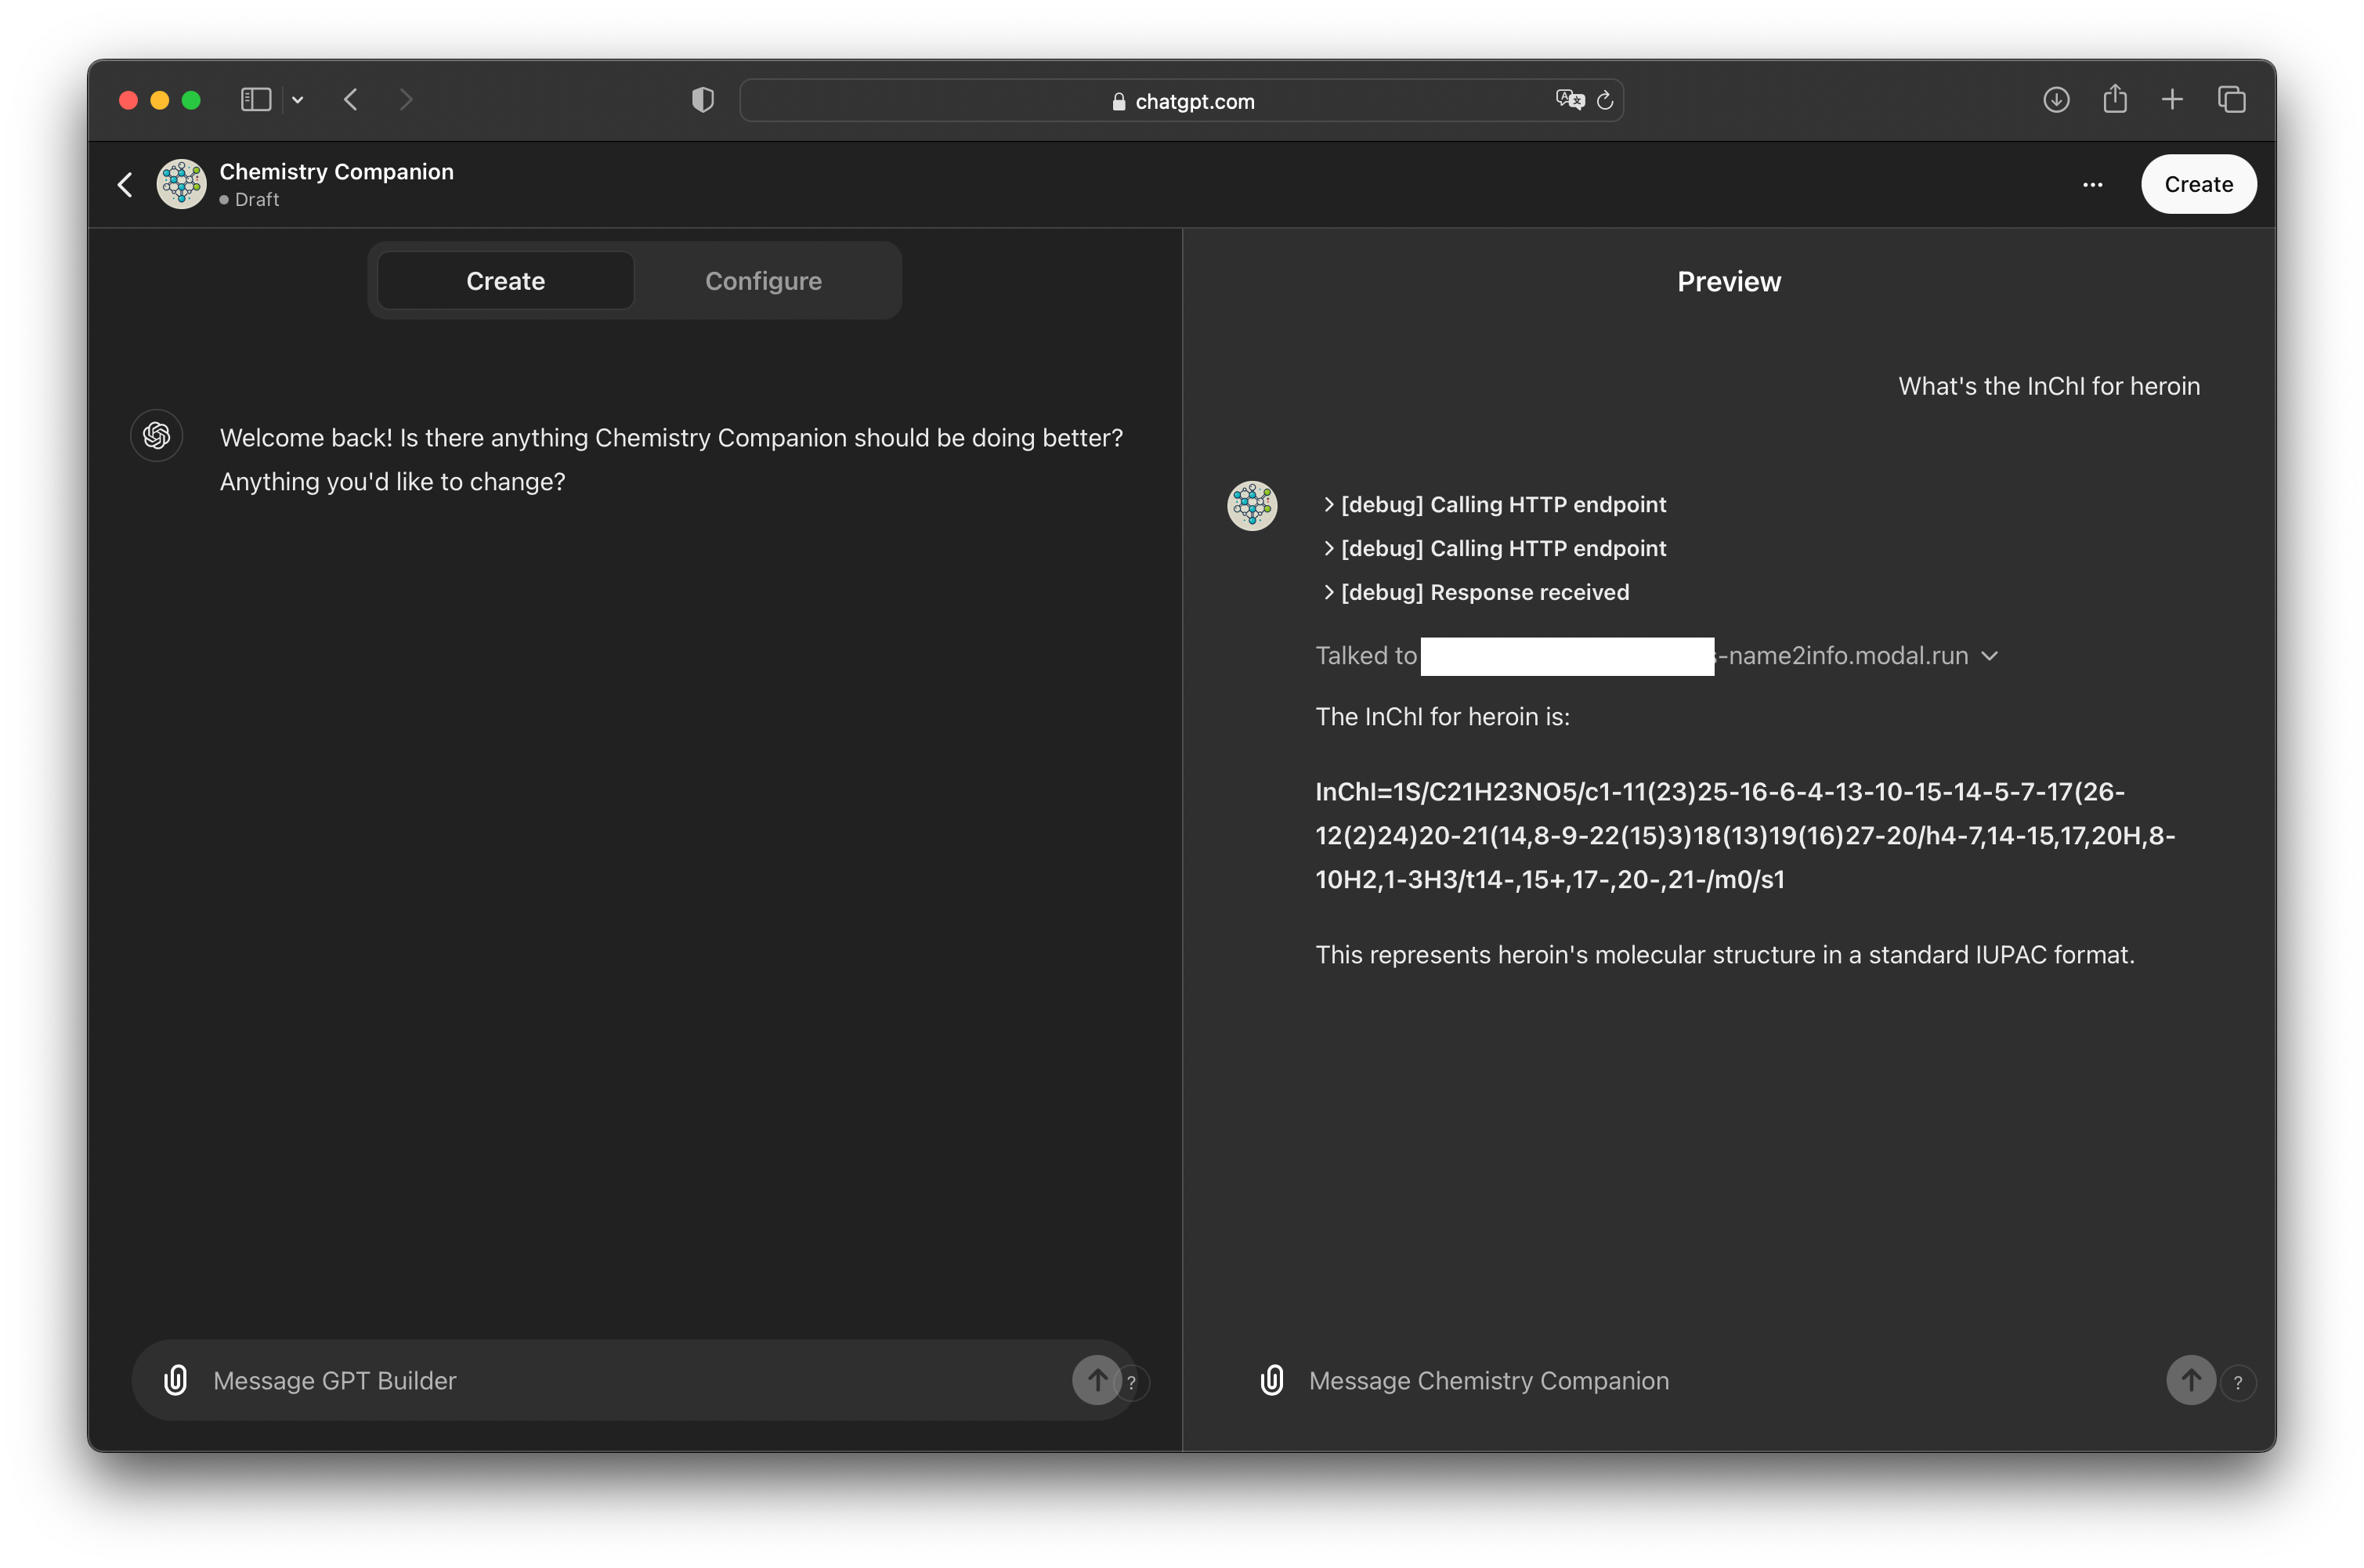
And finally, test it:
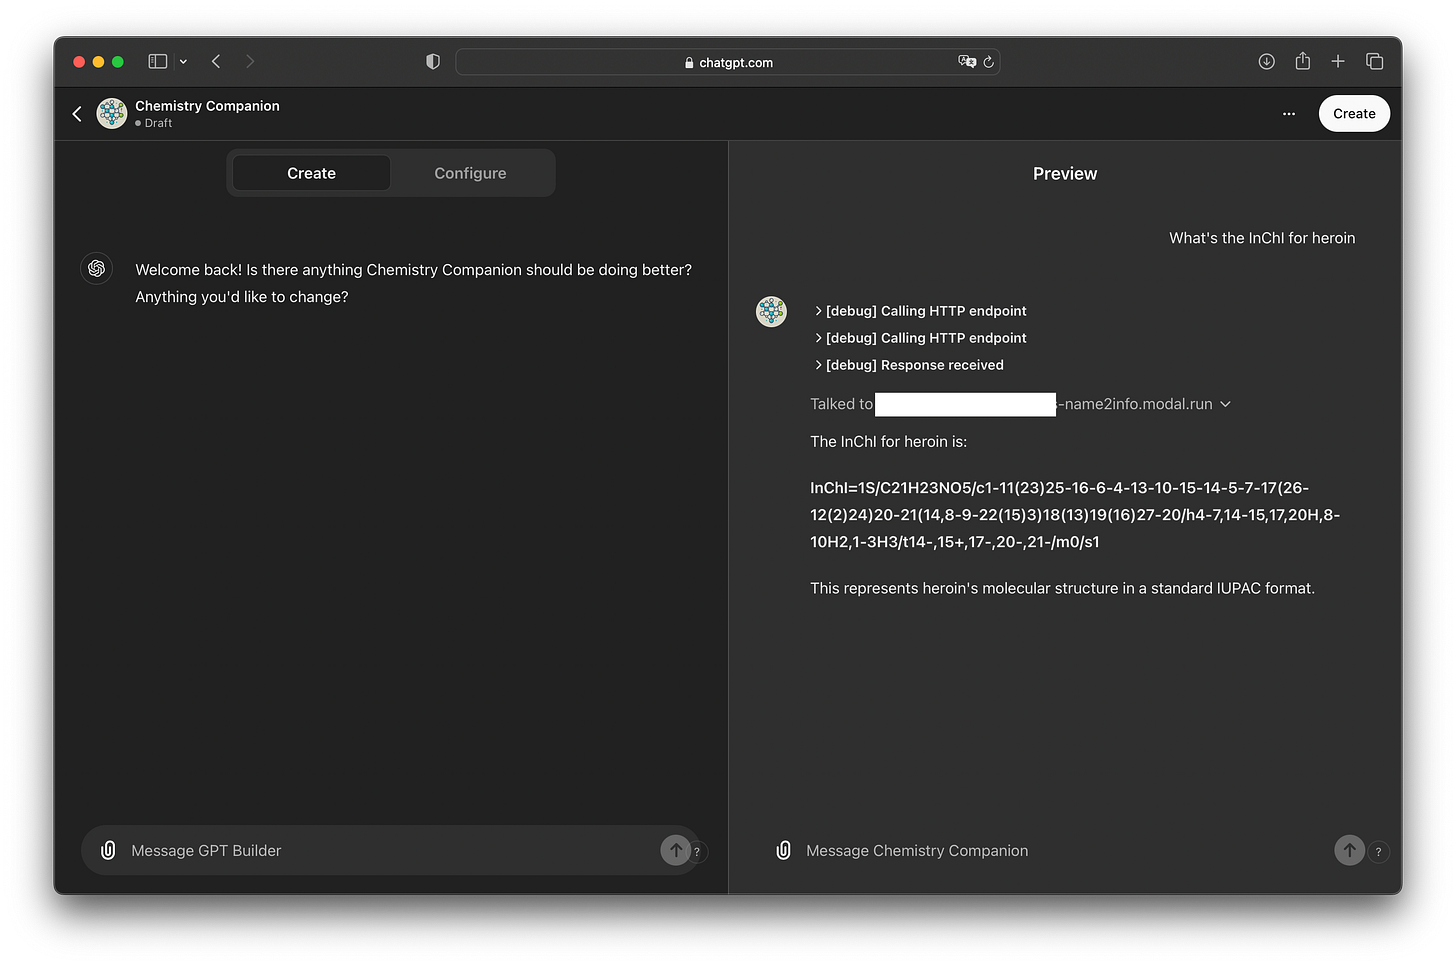
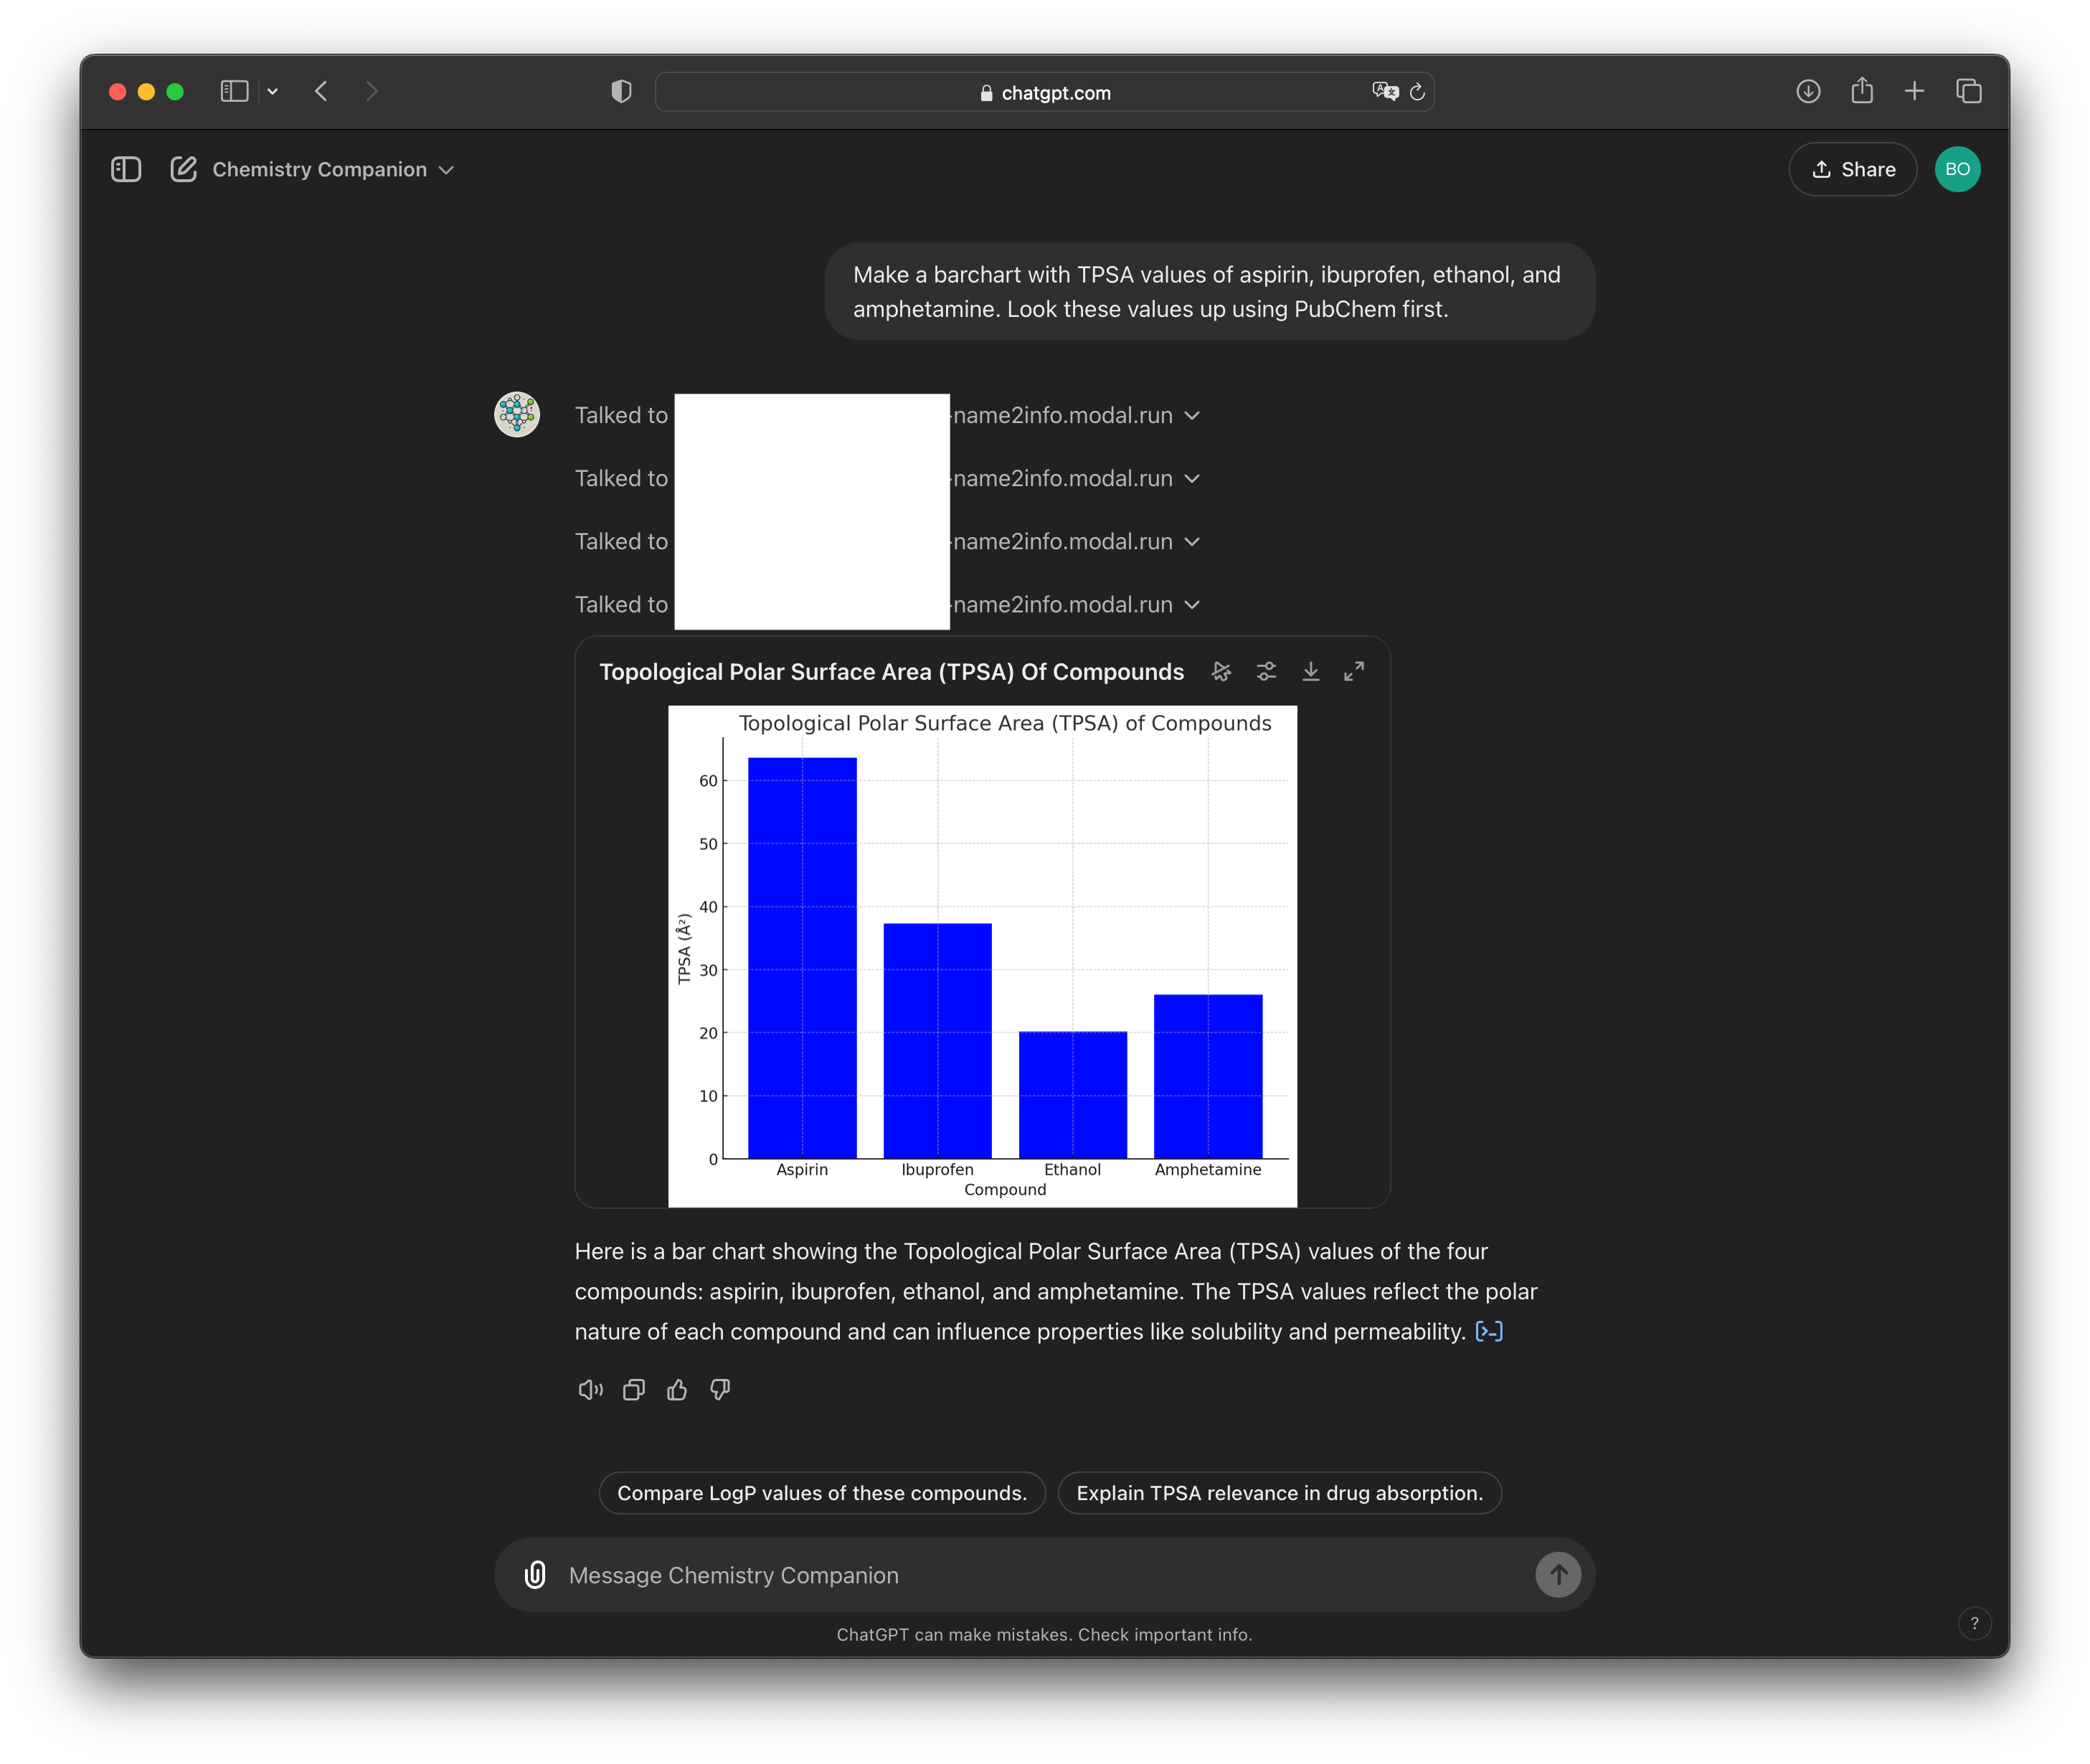
Now you can chat with your custom GPT and be confident that it has access to the most reliable information about the molecules in question. If you enable access to the code interpreter in the configuration tab, you can now make more complex queries. For example:
And that’s it! I hope this was useful. This is also a new format for me, so if you have any feedback, I would be happy to hear it.